Makeup brushes are a very important part of any makeup routine and so I thought I would share with you my personal favorites!

Showing posts with label tutorial. Show all posts
Showing posts with label tutorial. Show all posts
Friday, April 27, 2012

Wednesday, April 25, 2012
Easy Manicure Tutorial
I was never one to do a manicure on myself at home, I usually just had acrylic nails put on at the salon. When I became a mom the first time, I realized that trying to keep up with something that required that much maintenance was not gonna happen! So now I do my nails at home, usually in the evenings after I have gotten at least one kiddo to bed and it works just fine! Here are my favorite products to do a easy mani at home...
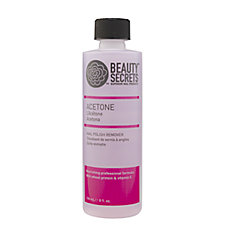
*Remove any old polish from your nails. I don't have a specific brand that I always buy, usually what ever is on sale and cheap. This is what I currently use:
****Put this on while your nails are still WET!!! This is very important!! This top coat will dry nails in about ten minutes and leaves them looking shiny and pretty!****
*Remove any old polish from your nails. I don't have a specific brand that I always buy, usually what ever is on sale and cheap. This is what I currently use:
 |
| Purchase here |
*Next file the tips of your nails with a nail file or you can do what I do and clip your nails with baby nail clippers. They work perfectly! I have to tell you that regular nail files give me the creeps and I hate to use them.
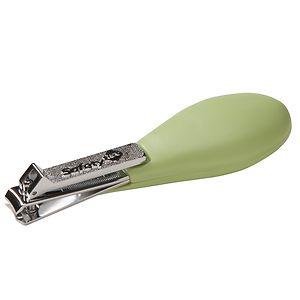 |
| These are the pair I use. Purchase here |
*Once the length and shape are to your liking, use a four sided buffer. This thing doesn't bother me so much for some odd reason. Use each of the four sides on each nail, it makes the biggest difference and your nails will shine and be so smooth. I like this one:
 |
| Purchase here |
I found mine at Target, but I am sure you can find one at any drugstore.
*Make sure all of the dust is off of your nails and now push your cuticles down with a wooden nail stick. You can trim your cuticles if you like but that also falls into the creeps me out category, so I skip it.
*Now it is time to paint! I usually do not use a base coat. I feel like after you use the 4 sided buffer, the surface of your nails is so even and smooth that it is not necessary. If you still wanted to, I would suggest:
 |
| Available here |
I really like all of Essie's products. They do make a base coat for weak nails and a base coat for dry nails as well. Choose which ever applies to you!
*Color! Choose which ever color floats your boat! I have an addiction to buying nail polish so I am always looking for a new, fun color. My favorite brands are Essie and OPI. They seem to last awhile and chip minimally. Sally Hansen also has a good range of shades and also last awhile. Right now I am loving Kiss Me On My Tulips by OPI and Tart Deco by Essie. Very fun shades for Spring.
 |
| Kiss Me On My Tulips |
 |
| Tart Deco |
*Apply one coat to each nail on both hands and right away go back and apply your second coat. I don't give any extra drying time. If your shade needs 3 coats, put on the 3rd one now. Now you will apply the magic ingredient:
 |
| Buy here |
*Sit back and relax for a few while your lovely DIY mani dries and that's it! Simple as can be and should not take you more than 15-20 minutes once you get a little routine down.
 |
| Fresh, easy mani using Kiss Me On My Tulips and Tart Deco |
Wednesday, April 18, 2012
Super Easy Bronzey Makeup
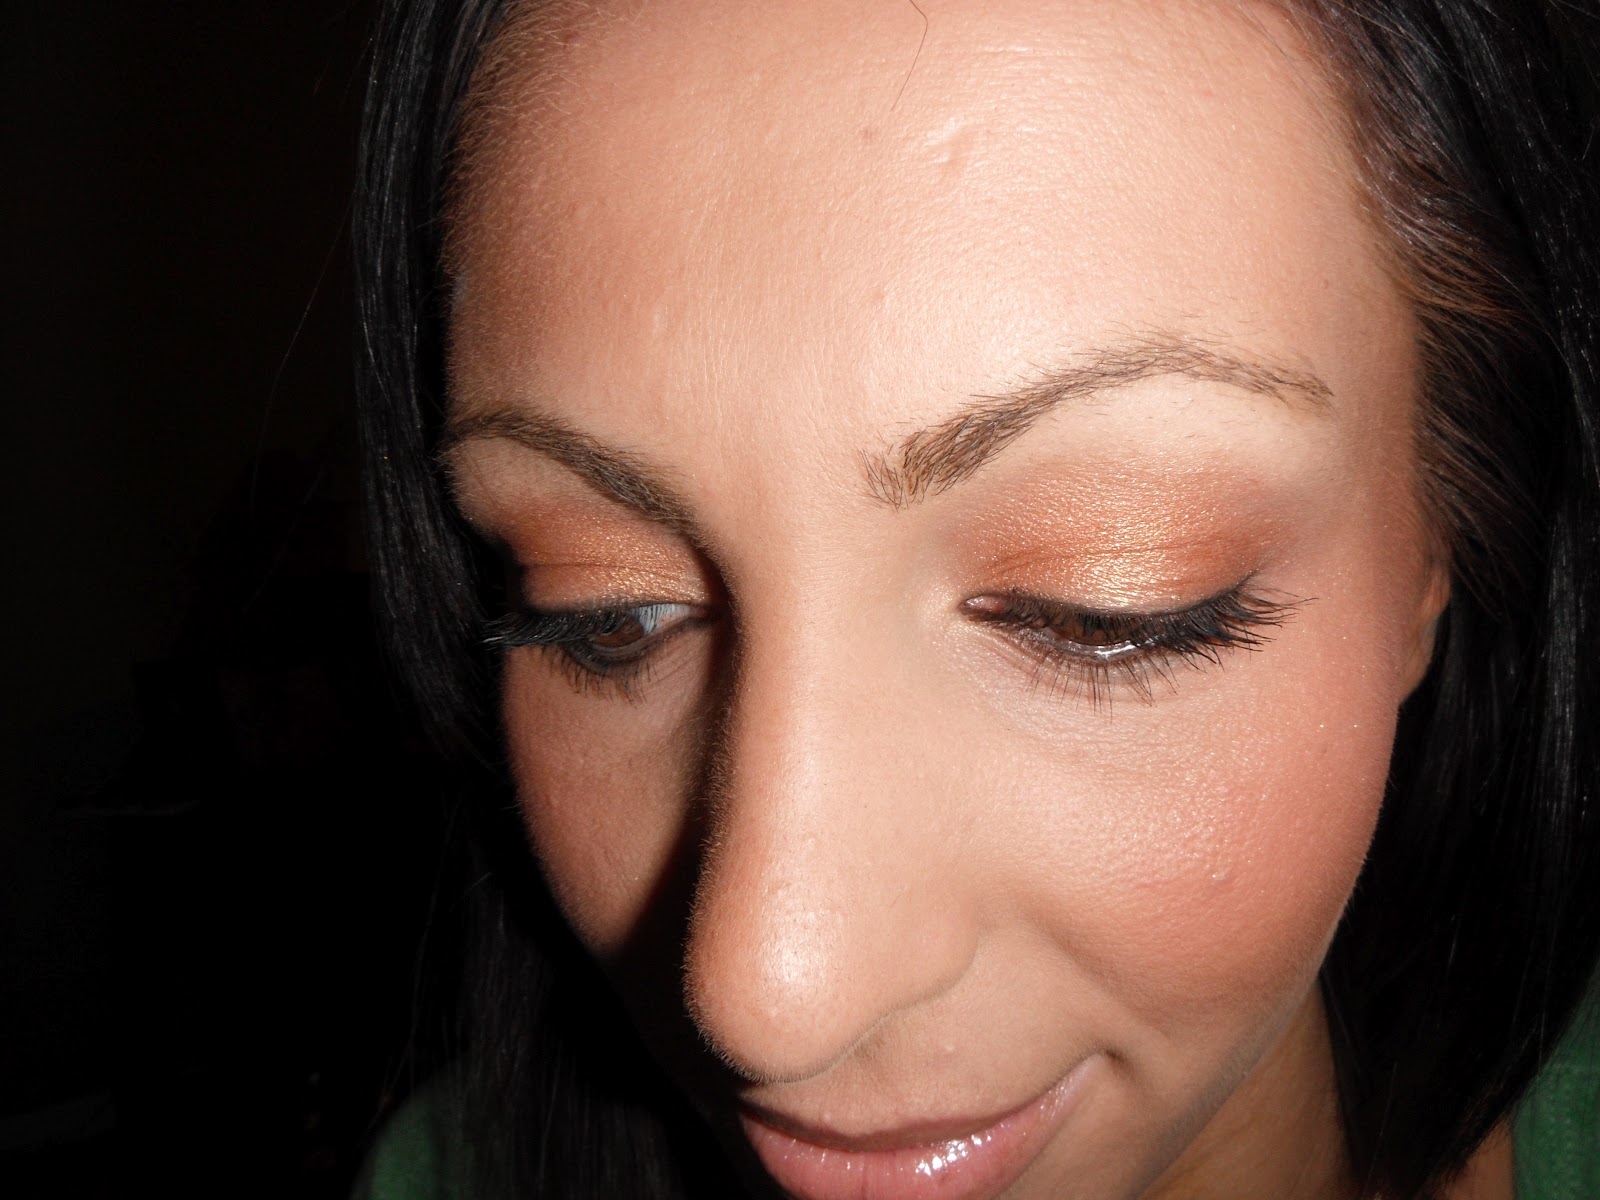
Now that Spring is starting to (hopefully) stick around and the weather is starting to warm up, it's time to freshen up your makeup! The easiest, and my favorite way to is to do an all-over goldey-bronzey (yes, I just made that up) look. Here is how to create this look I did on myself:

Apply your normal moisturizer/primer/foundation/concealer/powder as usual. You may want to get a slightly darker shade as your skin may be a bit darker due to being outside more. Also, you may want a lighter formulation of foundation, something not as heavy as you might normally use in the winter.
Choose your bronzer:
These are my two favorites, top one is The High Dive by Bare Minerals. This has no shimmer or sparkle. Perfect for all over the face and neck or to use a contour shade. I use the brush pictured and apply all over my face. Concentrating on my cheeks and down the center of my nose.

This next bronzer is from MAC and is a Mineralize Skinfinish Powder. This has a tiny bit of shimmer to it so I tend to use it on days when I am going to apply it mostly to my cheeks. It is a wonderful product though. Great pigmentation.


Now it's time to apply eye makeup. The shade I am wearing is Amber Lights by MAC. This is an awesome gold shade and really makes eyes pop. I also recommend the Physicians formula palette in Sunset Strip/Bronzer. I would use the middle shade to recreate this look.
After applying your shadow, line eyes with a black eyeliner pencil. A thin line will give your eyes just enough definition. I also line my water line and it's up to you if you want to do that. I usually only line just a bit on my lower eyelids as well, mostly the outer corners. Add your favorite mascara and eyes are done!

Now onto lips! I always have some clear chapstick on underneath any other lip products to moisturize. Then I put Revlon Lip Butter in the shade Creme Brulee on top.
Lastly, you can top that with some clear gloss in the center of your bottom lip, or you can do what I did, which was put a gloss from Victorias Secret's Beauty Rush line in the shade Pink Lemonade on top. And that's it! Super easy and fresh looking!


Apply your normal moisturizer/primer/foundation/concealer/powder as usual. You may want to get a slightly darker shade as your skin may be a bit darker due to being outside more. Also, you may want a lighter formulation of foundation, something not as heavy as you might normally use in the winter.
Choose your bronzer:
These are my two favorites, top one is The High Dive by Bare Minerals. This has no shimmer or sparkle. Perfect for all over the face and neck or to use a contour shade. I use the brush pictured and apply all over my face. Concentrating on my cheeks and down the center of my nose.

This next bronzer is from MAC and is a Mineralize Skinfinish Powder. This has a tiny bit of shimmer to it so I tend to use it on days when I am going to apply it mostly to my cheeks. It is a wonderful product though. Great pigmentation.

Lastly, after bronzer has been applied, I put a tiny bit of pink blush on my cheeks. This one is the Amazonian Clay blush by Tarte. Lasts for 12 hours, not on me so much due to my oily skin, but it is pretty long wearing, none the less. The shade here is dollface.

Now it's time to apply eye makeup. The shade I am wearing is Amber Lights by MAC. This is an awesome gold shade and really makes eyes pop. I also recommend the Physicians formula palette in Sunset Strip/Bronzer. I would use the middle shade to recreate this look.
 |
| Physicians Formula Palette |
Now onto lips! I always have some clear chapstick on underneath any other lip products to moisturize. Then I put Revlon Lip Butter in the shade Creme Brulee on top.
 |
| It looks a bit orange here, I promise it's not (photo from google images) |

Subscribe to:
Posts (Atom)